Placing a Gift
-
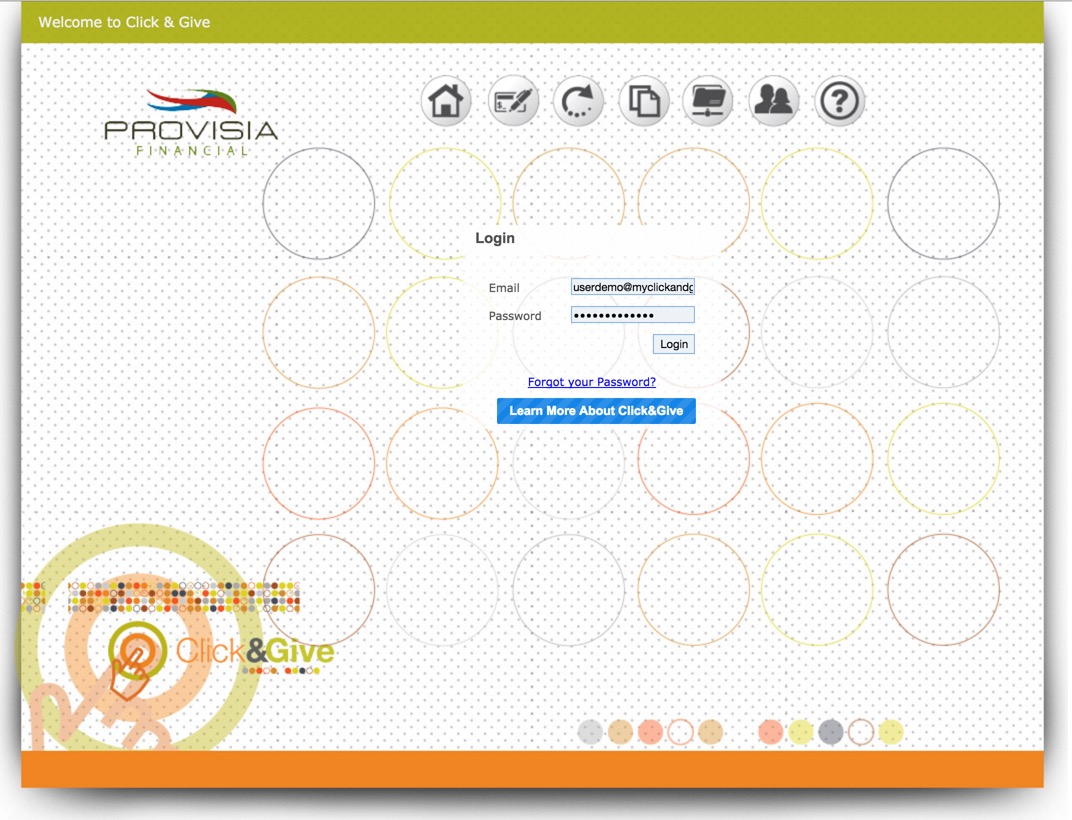
Log into Click&Give: https://www.myclickandgive.com/login.php
-
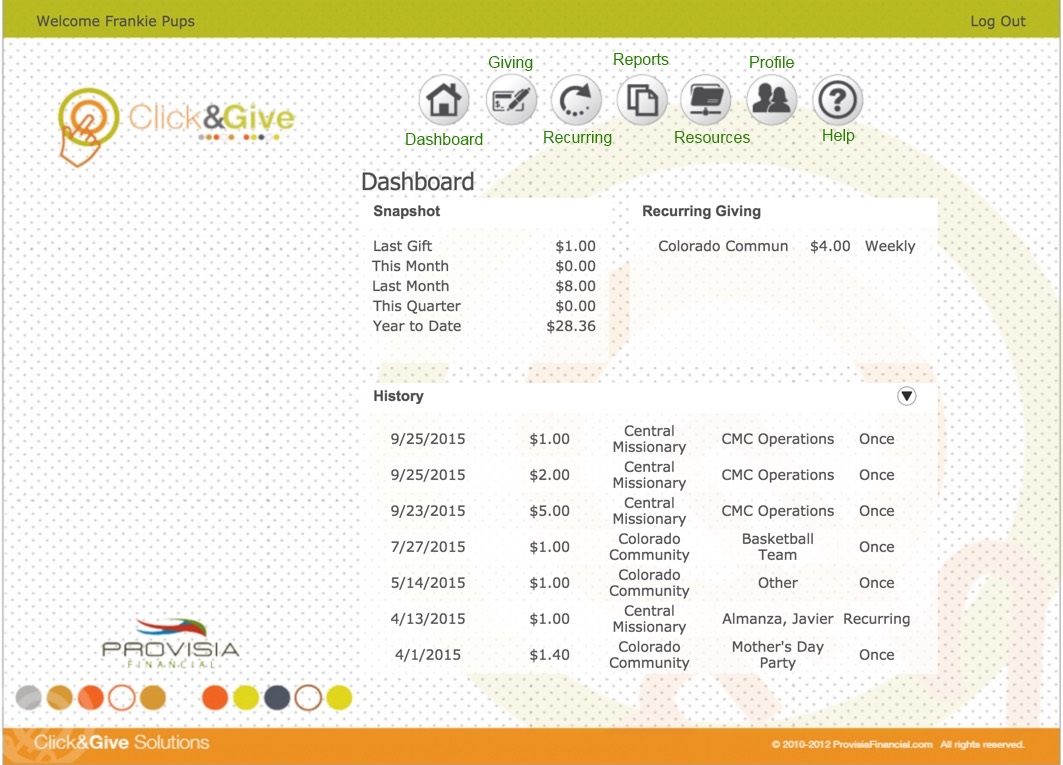
Once logged in you will arrive at the Click&Give Dashboard page:https://www.myclickandgive.com/dashboard.php
The Dashboard shows your recent donations, scheduled recurring gifts, and aggregate giving stats.
-
To place a gift, navigate to the Giving Page:https://www.myclickandgive.com/give.php

-
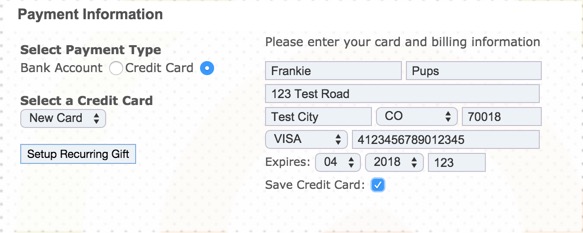
Select a your payment method, either a Bank Account or a Credit Card. Once a payment method is selected, the fields for that payment method will appear to the right. Fill out these fields to begin your gift.
-
If you want to setup a recurring gift, click the "Setup Recurring Gift" button.
Note: This recurring gift is in addition to the one-time gift that you are currently placing. This means that immediately after submitting this donation, two actions will take place.
First, your initial donation will be processed for your chosen amount against your provided payment method. Second, your recurring gift will be added to our recurring giving system. Every night, each gift in our recurring giving system is processed with the following rules:
1: Is the recurring gift enabled?
2: Is the current date between the Start and End dates on the recurring gift?
3: Is the other recurring logic is valid? (Is it the proper day of the month/week/year/etc?)
If these rules are all valid, then your recurring gift will processed and your payment method charged.
-
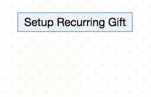
Clicking on the "Setup Recurring Gift" button will open the following dialog:
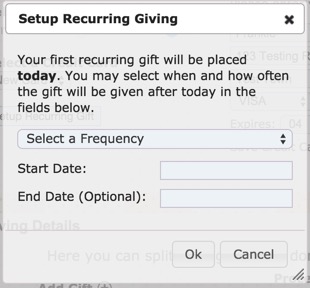
Fill out the fields to setup your recurring gift.
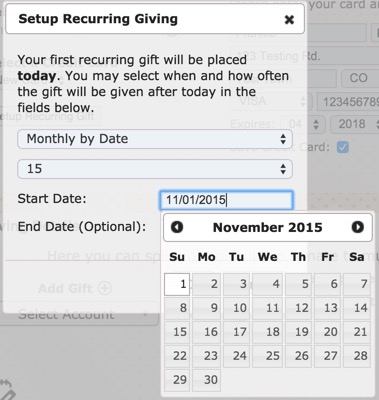
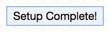
Then click the "OK" button. Once you have setup your recurring gift, you will notice that the "Setup Recurring Gift" button has changed to "Setup Complete".
A recurring gift requires a stored payment method, so be sure that you have entered a nickname for your bank account or checked the "Save Card" checkbox for your credit card.
-
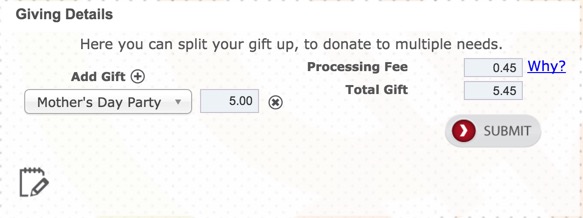
Next, define your donations. A single donation can be split to provide for multiple needs.
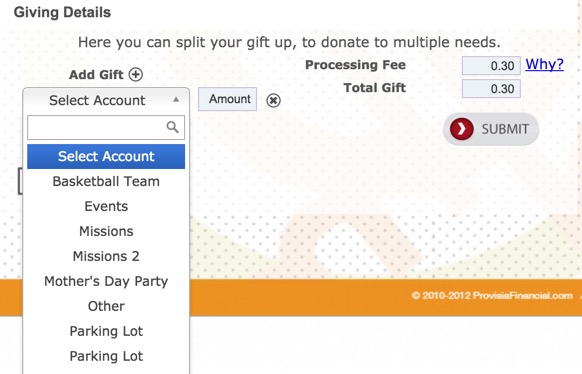
The account dropdown is searchable. Just type the beginning of the account name to perform the search. For example, if we enter "Mo" into the search field:
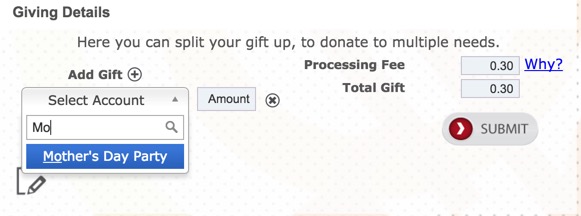
Once you have selected the account, then you can enter the donation amount into the amount field to the right.
If you would like to add another account to this gift, click on the small (+) sign next to the "Add Gift" label.
-
Once you have added all of the desired accounts to your donation, you can see the gift total and applicable processing fees to the right.
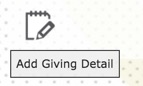
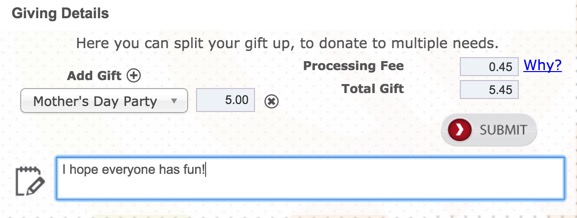
If you would like to add a memo to your account, click on the memo pad icon.
This opens the memo field.

The memo text is included on your donation receipt and is forwarded to your charity.
-
At this point, your gift should be ready to submit. Double-check the entered data and if everything looks good, go ahead and click the "Submit" button. Once the page has been submitted, all of your entered data is validated. If there are any problems, you will be
returned to the Giving page to correct any errors. If the gift is error-free, you will be taken to the Confirmation page.
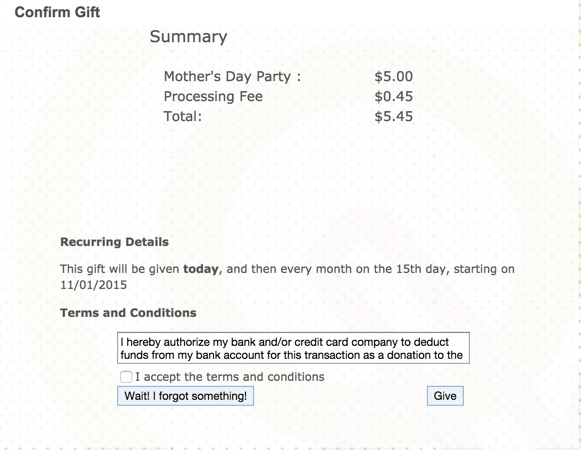
The confirmation page summarizes your gift and your recurring settings. If everything looks good, accept the Terms and Conditions.

Then click the "Give" button. If you have setup a recurring gift, an additional dialog will be displayed.
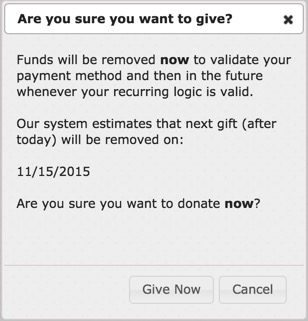
This dialog confirms that you understand how the recurring system will behave. It also predicts when the next recurring gift will be placed. Click "Give Now" to finalize your donation.
Once the gift has processed, a receipt will be displayed.